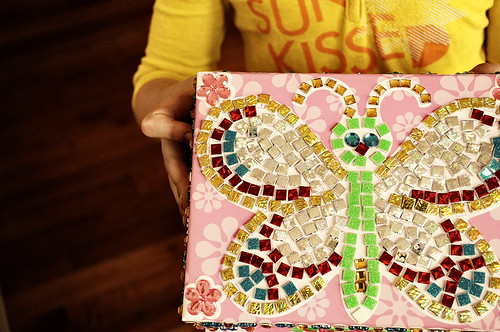
When I was a little girl I used to love to play in my Mom's jewelry box. It sat in our bathroom on a counter behind the door and I would more than occasionally take the opportunity to take a peek inside. A lot of my Mom's necklaces stayed all balled up together in the bottom of the box and was a bit of a tangled mess (not helped by my rummaging around in there!) When I grew up and had a place of my own I got into the habit of hammering a row of tiny nails inside my closet to hang my necklaces on. This actually works great but in this house I thought I'd take it to the next level. Enter a four pack of cork tiles, a cheap mirror the Husband owned pre-marriage, a straight edge and a roll of double sided tape!

(Yes, that is my unmade bed, don't judge!) When we got married and I officially moved into the Reslus Arms, we moved the master bedroom upstairs. The new room in our sweet little cape cod has a lot of light for this dark house and a walk in closet. The closet is long and narrow with a nice big wall that wanted to be something.

Now we have a mirror and the cork tile jewelry hanger system to make it all more functional. First we measured and marked the location of each tile (actually I eye balled it, but if you need it to be perfect within a 1/16" then you should measure and lightly mark with a pencil- you can erase the lines when you're done) Then peel the cover off the adhesive tabs on each corner of the tile and apply it to the wall, gently pressing each corner to make sure you have good contact. You don't want things falling in the middle of the night! Next we applied long strips of heavy duty double sided tape to the back to the long, narrow mirror. I like to apply the tape near the edge of all four sides to get good contact with the wall. Again measure and mark your mirror location. Use a small level to make sure you have everything where it needs to be. Once we felt good with our location we pealed the cover off the tape and applied the mirror to the wall (just like the cork) pressing firmly around all the edges once we got everything lined up straight and level. Super easy!

I'm also using clear tacks to hang my jewelry. By using the tacks on the cork everything is much more configurable.
My next task is to add a few more cork squares, some artwork and change out the utilitarian light fixture for something a little more fun. Thanks for joining me on my work in progress! How do you store your jewelry?


